OUR DESIGN PROCESS for home addition design
our eight (8) step design process
for home addition design
“the colors and design of a home should be a reflection of the people who live inside.” - amy wax
GETTING TO KNOW ONE ANOTHER!
STEP ONE – Starts with a phone call from you, the client, asking about our home addition design services. During this quick conversation, we gather information about you and your addition, the size of your addition, the location of your project, and your name, address, and email address.
STEP TWO- The follow up to this call is where we will email to you a Design/Drafting Service Pricing sheet along with a copy of this process.
STEP THREE – We continue to consult with one another through calls and emails where we discuss your project and get to know one another. We like to call it the interview where you ask us questions about our background to see if we are the right designer for you. At this time, we will also ask a lot of questions, listen to your wants and needs for your project, share ideas, and maybe exchange rough sketches, photos, etc. to help get the design process underway.
STEP FOUR- If you accept and choose us as your designer, a contract for design services is written and sent for signature, a deposit is taken, and we schedule our design consultation and field measure meeting. This step is sometimes combined with Step Five.
THE DESIGN PROCESS!
STEP FIVE – Design Consultation and Field Measure: Once a contract for design services is signed and a deposit is received, a design and field measure meeting takes place. At this meeting, we will be discussing in depth all of your wants and needs for your addition design to mutually reach the perfect design for you and your family. We will discuss the square footage and dimensions of your addition and your wish list of rooms and features for your addition. We will also measure and snap a few photos of the existing interior and exterior area of your home where the new addition will be going. Some clients will choose to not meet in person, send their own photos and measurements at their convenience, and a list of wants and needs for their design. They might have already have drawn a sketch of what they want. Either way, at this time, we will also give you a time frame of when you can expect some preliminary drawings and conceptual 3D Images.
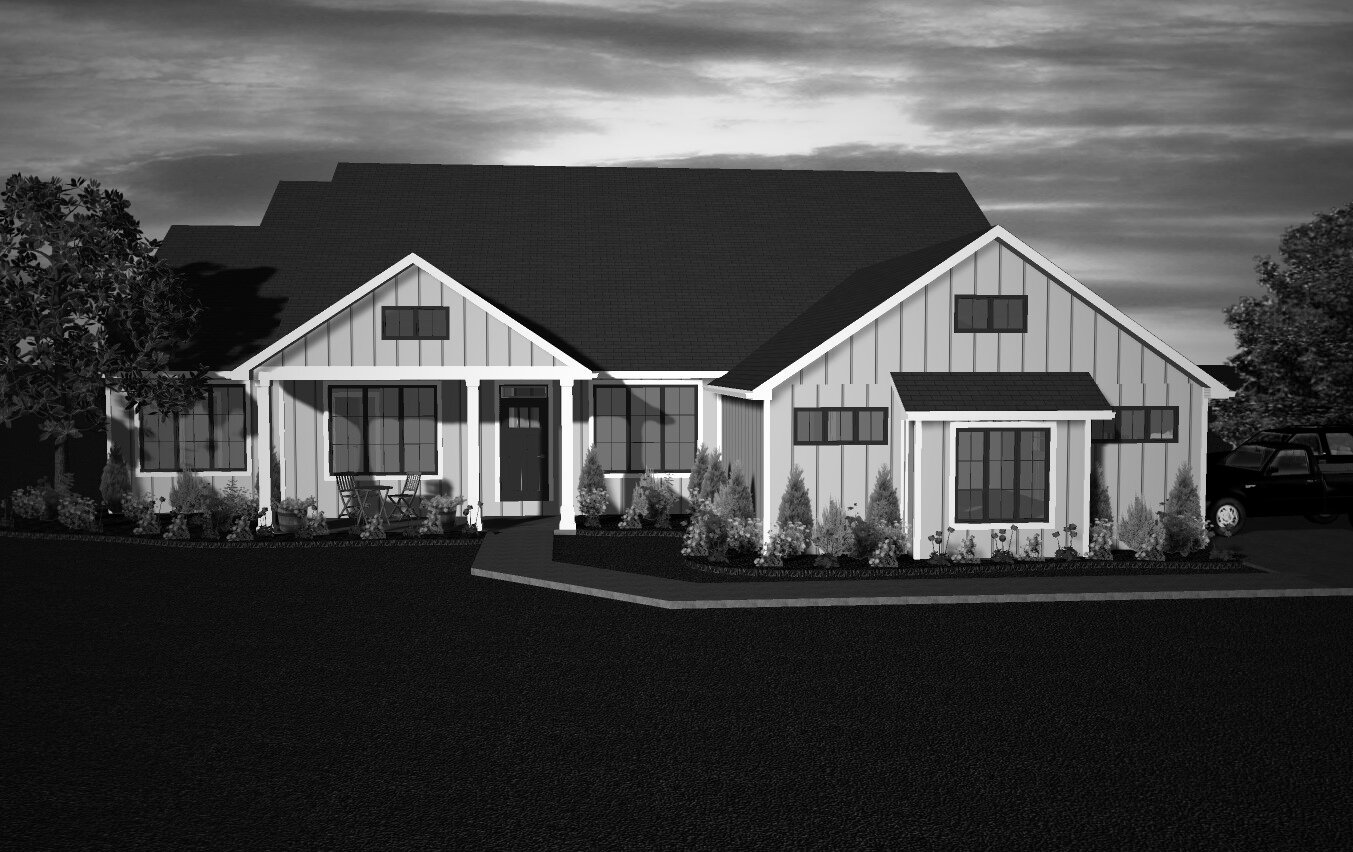
STEP SIX – Preliminary Design, Possible Options, and Preliminary Conceptual 3D Images: We will email to you your preliminary drawings for you to review and discuss with us any changes and modifications that you may have. You will receive a preliminary partial existing first floorplan, partial existing second floorplan (if applicable), demolition first floorplan, demolition second floorplan (if applicable), proposed first floorplan, proposed second floorplan (if applicable), optional proposed first floorplan, optional proposed second floorplan (if applicable) and conceptual 3D images of what the addition will look like attached to your existing home.
STEP SEVEN – Revision(s): We will make the necessary modifications and changes that you want and email back to you the revised preliminary partial existing first floorplan, partial existing second floorplan (if applicable), demolition first floorplan, demolition second floorplan (if applicable), proposed first floorplan, proposed second floorplan (if applicable), optional proposed first floorplan, optional proposed second floorplan (if applicable) and conceptual 3D images of what the addition will look like attached to your existing home. You will then review these changes and discuss with us any further modifications that you may have. We will continue this step until we have your design the way you want it, so there may be multiple revisions.
STEP EIGHT – Final Construction Drawings: Once we have your final approval on the design, we will complete all the final construction drawings for your design. These drawings will be used for the bidding process, for permits (if necessary) and to complete the construction of your addition to your existing home with your builder or contractor.
What is included in Final Construction Drawings:
Foundation Plan/Basement Plan
Partial Existing First Floor Plan
Partial Existing Second Floor Plan (if applicable)
Demolition First Floor Plan
Demolition Second Floor Plan (if applicable)
Proposed First Floor Plan
Proposed Second Floor Plan (if applicable)
Roof Plan
Exterior Elevations
Conceptual 3D Images of what the addition would look like attached to your existing home
Typical Wall Section
Please note: Not all of these steps are followed precisely and are used as a guideline only. Each individual client’s process is tailored toward their needs, wishes, and comfort. We are here to make the process as easy as possible for you.


